18 Ocak 2012 Çarşamba

Triple V

This is a simple hairstyle that takes less than 10 minutes to complete and we always need to have a stash of those hairstyles handy!
We call it the triple V because of the three braids forming the V's on the back of the head.
Begin by creating a small part at the front of the head.  Ours is off-centered a bit but you can place it wherever you like.  Comb the remaining hair down straight.
Start on the right side of the head and section out some hair from the part down to the top of the right ear.  Smooth it out with a comb and then create a Regular 3-Strand Braid that will be long enough to reach to the back of the head.  Have your princess hold that braid while you move over to the left side and repeat the same steps.  Pull those two braids to the back of the head and combine them with an elastic.
Now you will grab a small section of hair directly behind/underneath that previous section and create a braid out of that as well.  Have your princess hold that while you move to the opposite side and repeat the steps.
Join those two braids at the back of the head - along with the ponytail from the previous braids - and secure it all with a new elastic.  Repeat these same steps with one more section of hair from each side of the head to create your 3rd "V".  You can finish off the style by curling the hair as well.

16 Ocak 2012 Pazartesi

Some film photography


taken with a vivitar v3000

BOWtiful

I've done a few of these "Ga Ga" bows before  but I wanted to show you one other way to do this. I found that this way seems to hold throughout the day better.
Start with wet hair and pull it all back into a ponytail - or piggies or whatever style you are looking to do.  Now section out about 1/3 of that ponytail from the top to make your bow out of.  Divide that section into two equal parts. 
Start with one of those parts and create one loop of your bow, whatever size you like.  Now take a small clear elastic and secure it over that loop a couple of times to hold the loop in place.  Make sure that your small clear elastic is resting as close to the original ponytail elastic as possible.  Do the same thing with your other part of hair to create the other loop of your bow.  You should now have two loops and two clear elastics resting by your main elastic. 
 Take the hair from your loops that was left over and criss-cross wrap that around the three elastics to hide them.  You will first cross them behind and then criss-cross them over the front. 
 Finish by taking the ends behind the ponytail and then including them with the rest of the hanging hair as you divide it into three equal sections to braid.  By braiding these ends in with the rest of the ponytail it will secure them in without having to use any bobby pins. 
Hopefully this way will help a few of you that struggle with theses hair bows. 

14 Ocak 2012 Cumartesi


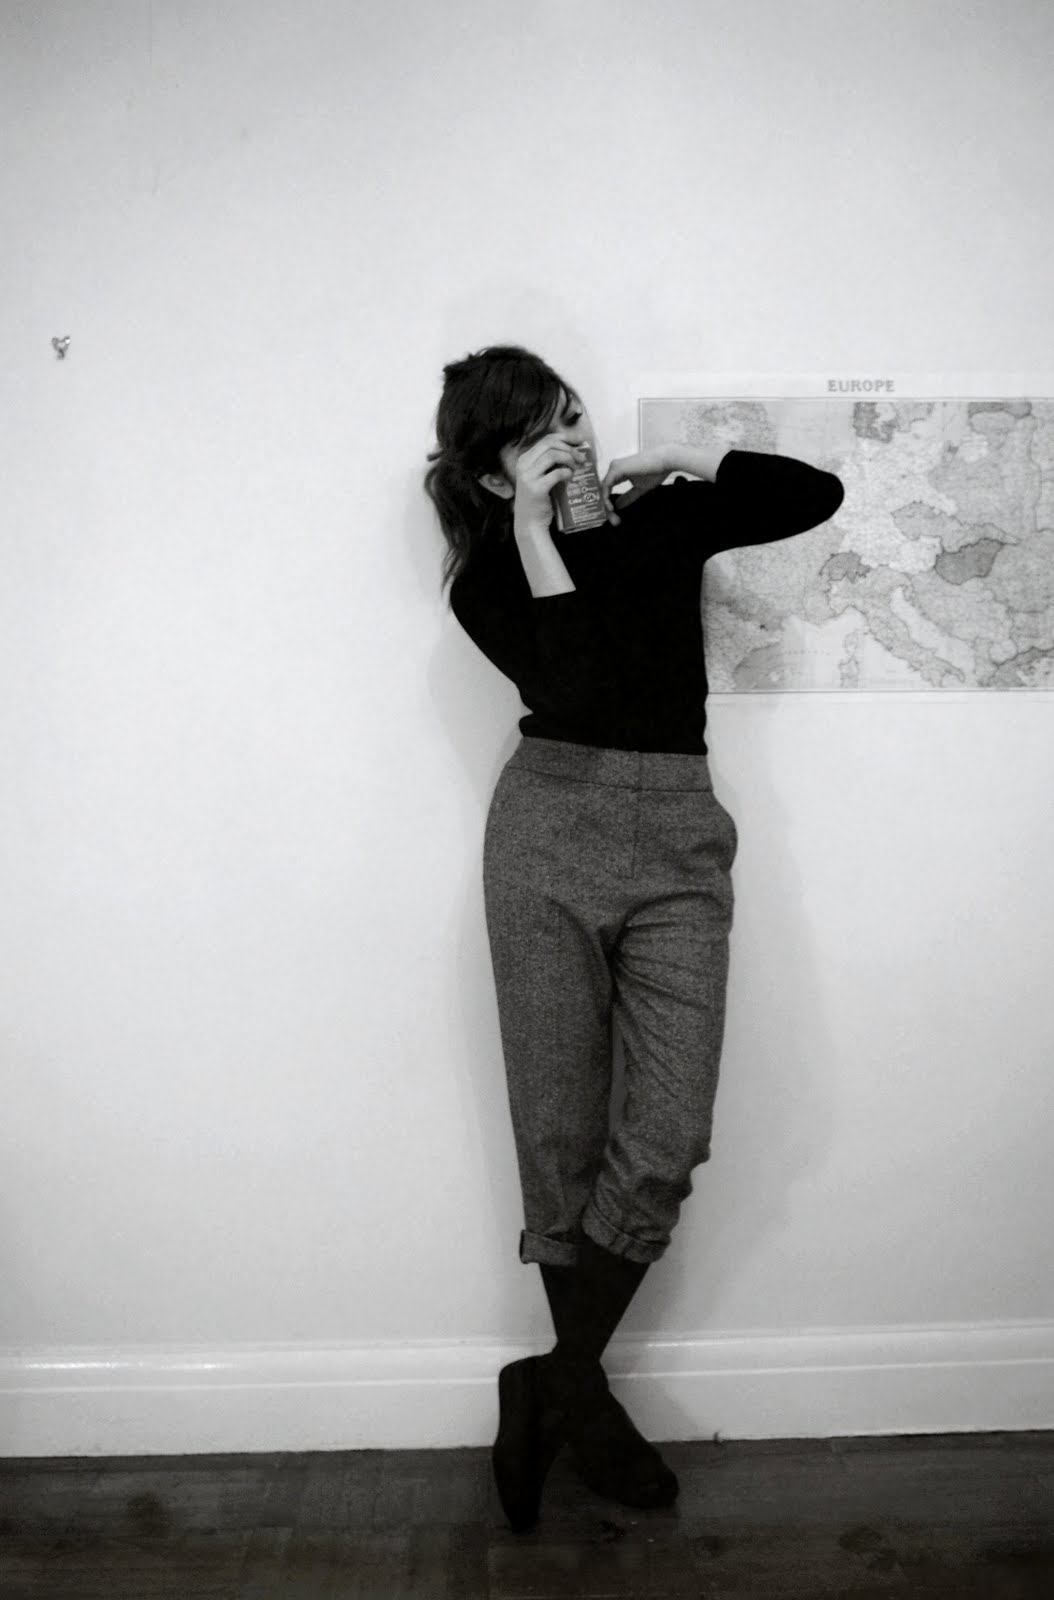
Got a nice second hand coat for six pounds and highwaisted pants. Drank cola and listened to the Andrew Sisters. Now I really should be writing essays but I am going to watch the rite instead, terror for Friday 13th even though today is already Sunday.

13 Ocak 2012 Cuma

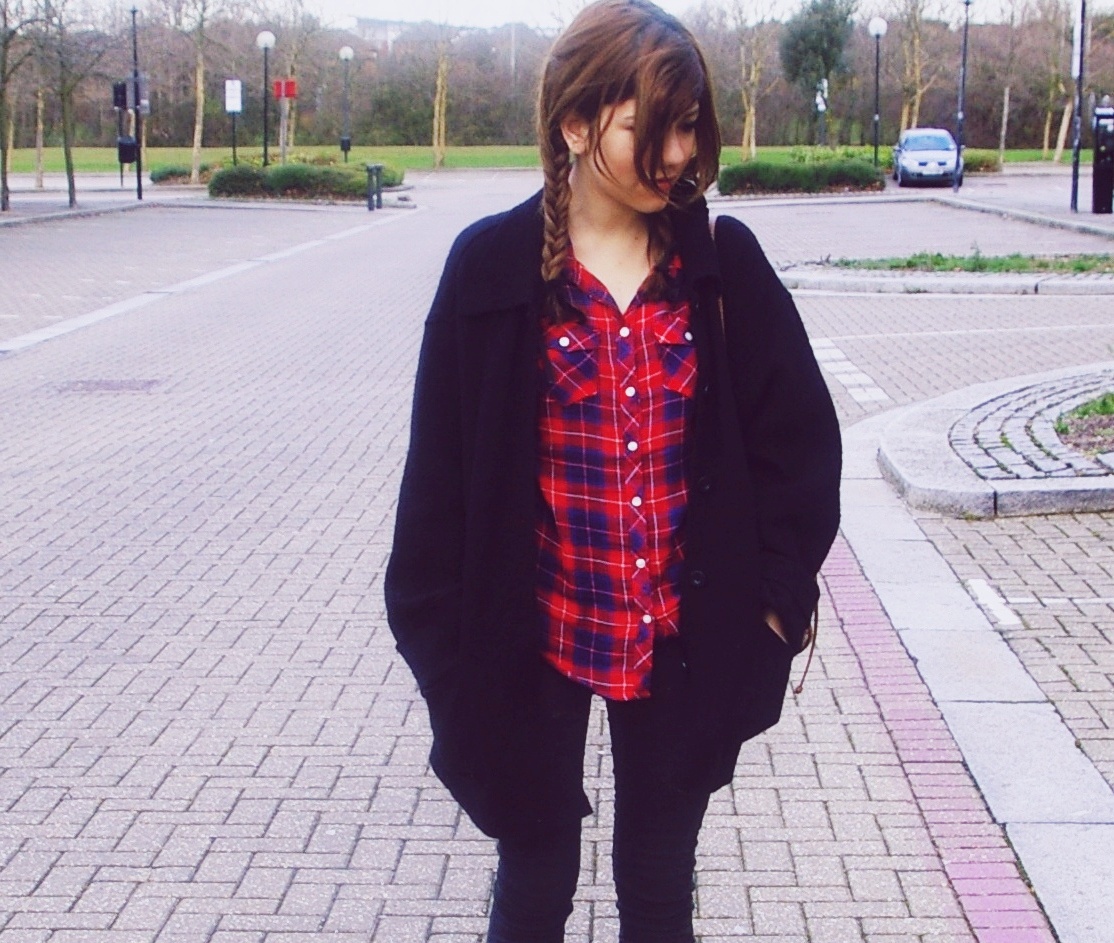
Red & Blue


shirt from h&m, coat second hand.

Friday's Film: Swedish Piggies

We tried to get this video up as soon as possible because we had a lot of response on the hairstyle and many requests for a video.  I wish that the hair on the video looked a little more crisp and clean but you should still be able to get the general idea.

If you want to see pictures of the finished product as it should look, you can refer to the original post here. 

See, now wasn't that easy?!  :)